


Vegan chocolate peanut butter balls..YUMMMM
You do not have to be vegan to indulge in this decadent, palate pleasing dessert. With 100% plant based ingredients not only can you satisfy your cravings for sweet and salty but you can wipe your mouth clean knowing that your sweet tooth made a more sustainable and animal friendly decision.
I am not going to write a novel that you have to read through before getting to the reason you are here….the RECIPE! So check out my quick tips below and then jump right into the printable recipe and quick tutorial video!
QUICK TIPS
– You need a food processor for this.
– Feel free to make a batch of peanut butter. Use one cup for this recipe and then store the rest in a sealed jar. Now you don’t have to buy peanut butter! Homemade is ALWAYS better.
-You can incorporate different nuts into your blend if you want. Sometimes I do 70% peanuts and 30% mixed party nut blend.
-Make sure your chocolate is certified Vegan.
-Once you place the peanut butter balls in the freezer they may lose shape a little. Feel free to reshape them halfway through the freezing process.
-All you need it one skewer to pick the peanut butter ball up, coat it with chocolate and then place it down. So, if you don’t have toothpicks no biggie!
PRODUCT LINKS LIBRARY
Vegan Chocolate Peanut Butter Balls

Decadent, mouth watering and 100% plant based this dessert is sure to please the palate of anyone with a sweet tooth. The best part is it requires only 4 ingredients.
- Prep Time: 20 minutes
- Cook Time: 8
- Total Time: 2 hours
- Yield: 24 ounces or 16 peanut butter balls
- Category: Vegan Dessert
- Method: No bake
- Cuisine: Dessert
- Diet: Vegan
Ingredients
- Homemade Peanut Butter (2-3 cups peanuts)
- Vegan chocolate chips (1 bag)
- Powdered Sugar (1 cup)
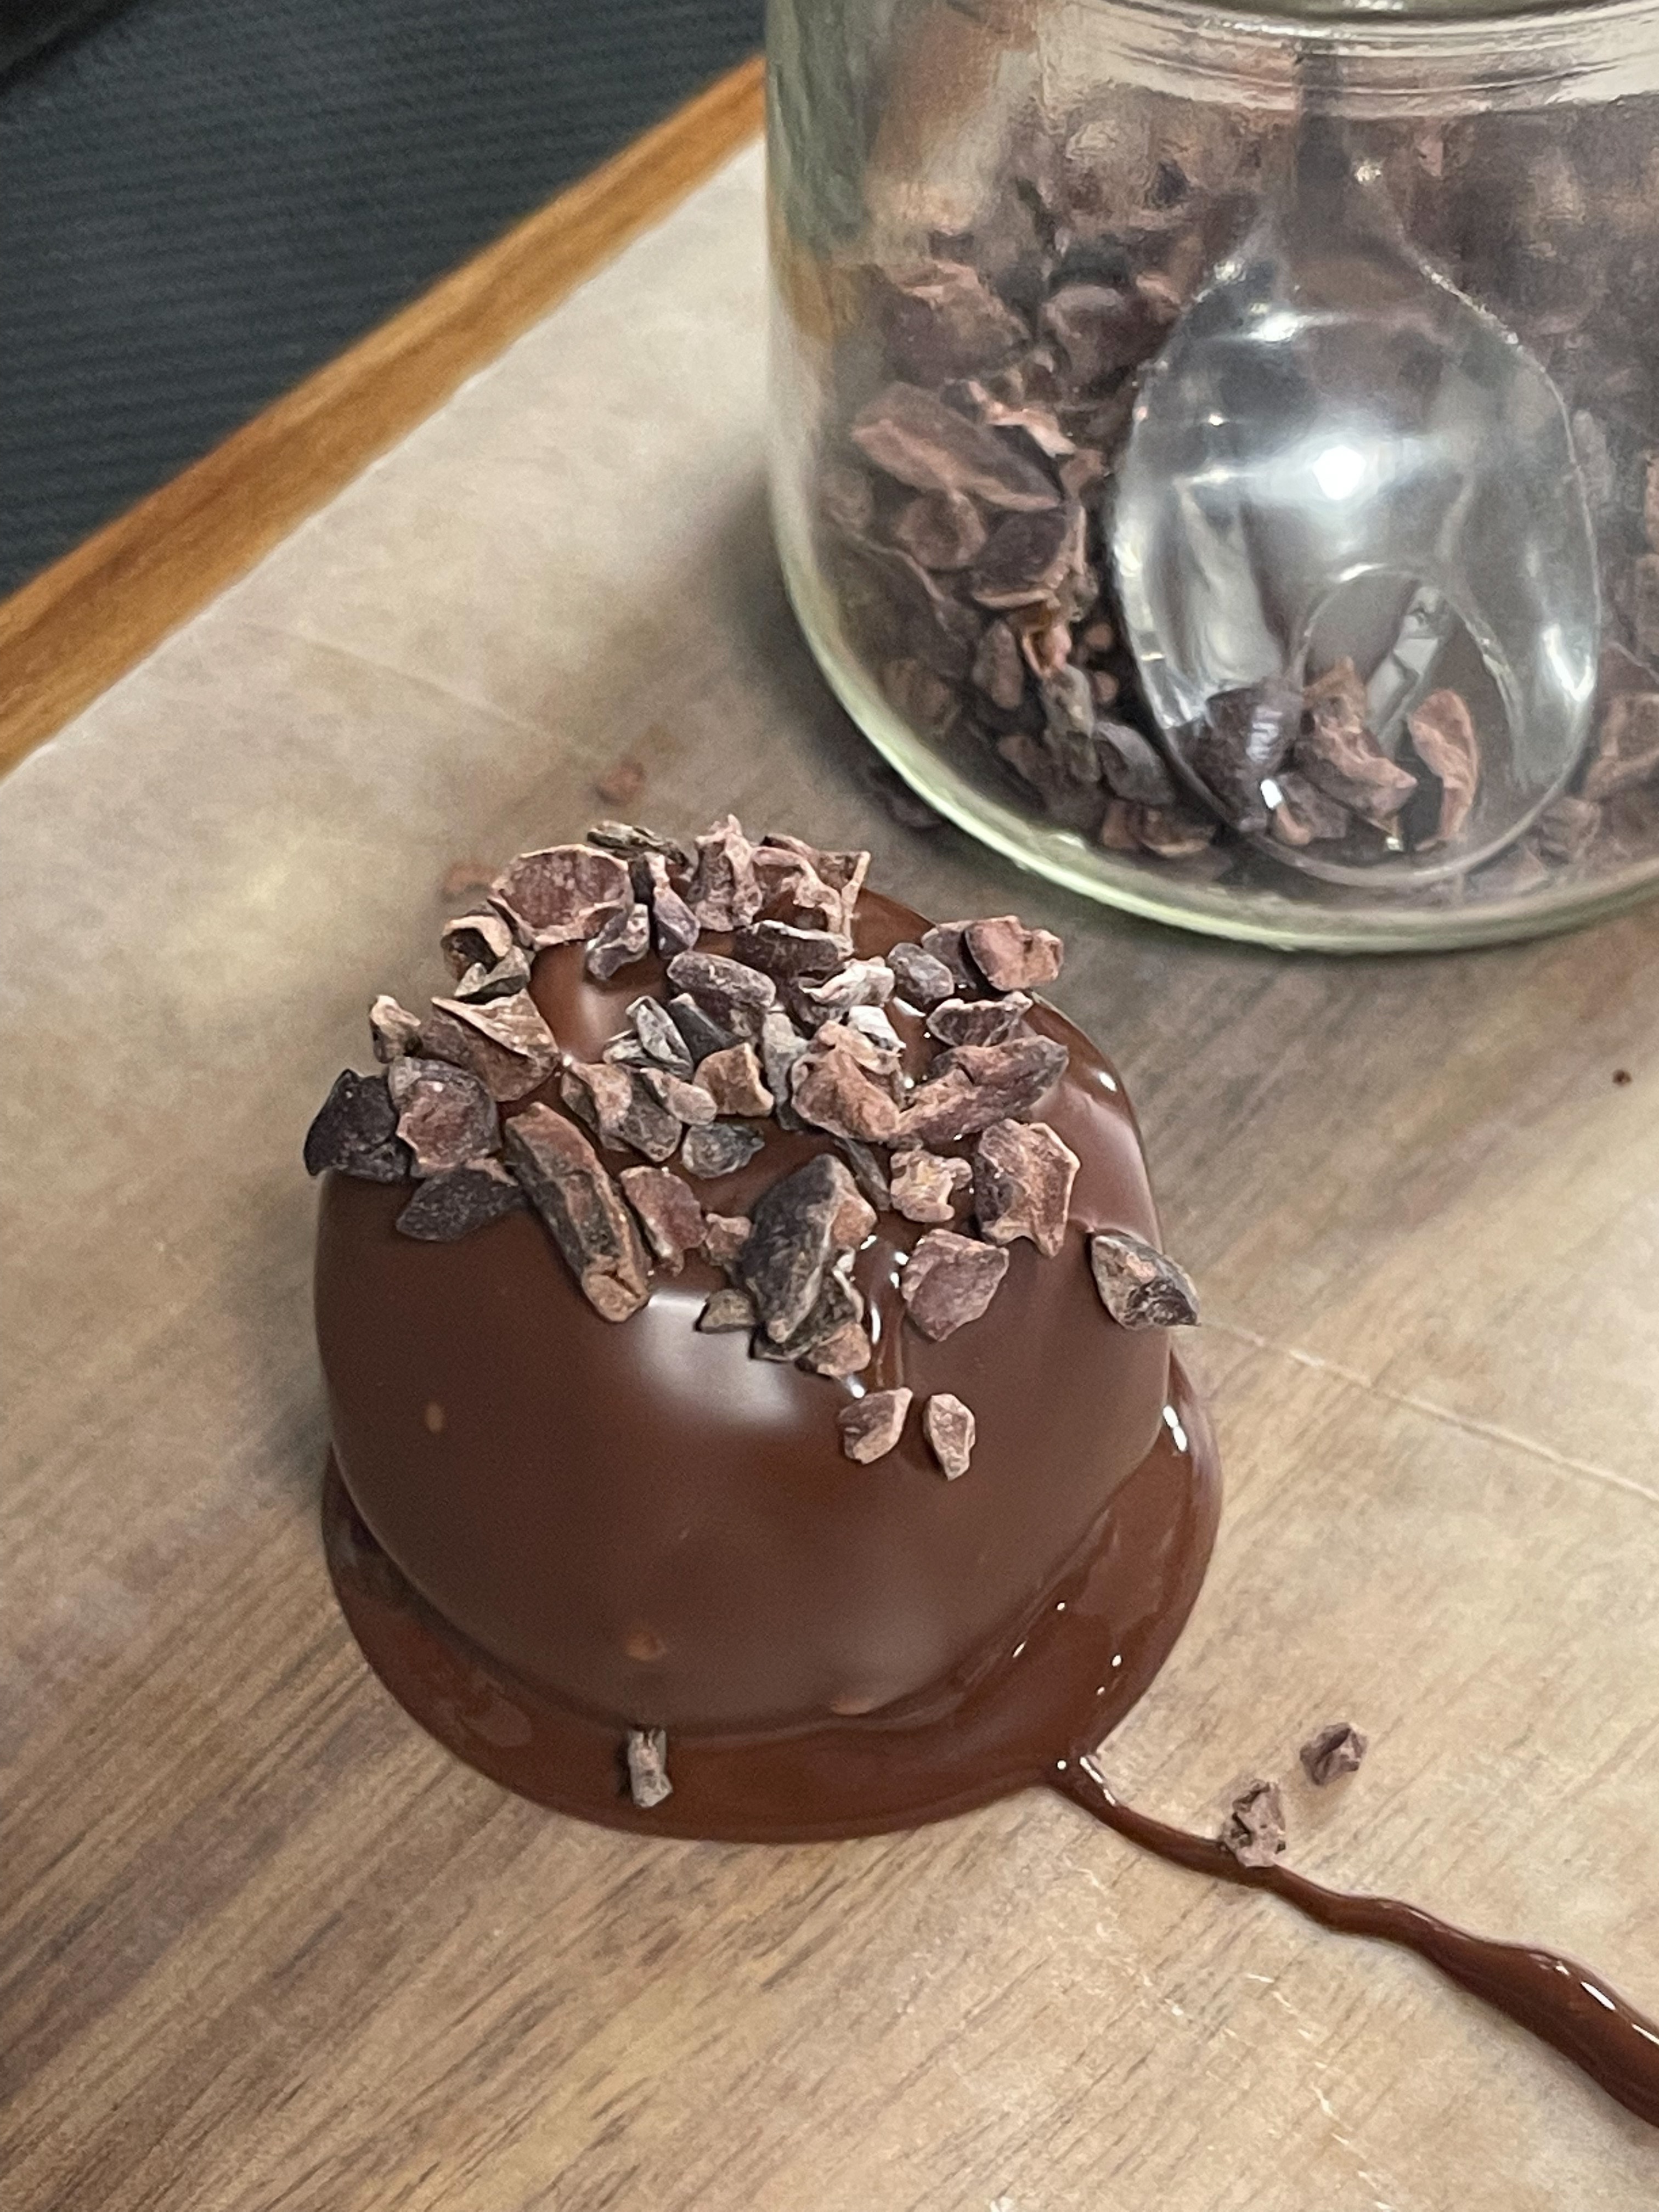
- Cacao nibs (1/4 cup)
Instructions
- In a food processor add 2-3 cups of deshelled peanuts. I use salted cocktail peanuts because I love the contrast of the salty peanuts paired with the sweetness from the chocolate. But if you are watching your sodium intake you can opt for salt free peanuts. This took me about 2 minutes.
- Process the peanuts until they break down into a creamy consistency. Do NOT over process to the point where it is like liquid. We want the peanut butter to no longer be “chunky” but still have a density to it so it is shapeable. If the mix gets to creamy we may have to add MORE powdered sugar than called for just to build up the thickness.
- Take one cup of the peanut butter and add it to your mixing bowl. If there is left over peanut butter make yourself a sandwich! Or store it in a reusable jar for later.
- Measure out one cup of powdered sugar and add half a cup at a time while incorporating it into the peanut butter. You will most likely need to use your hands to knead the sugar and peanut butter together until they are 100% combined and you are left with a playdough like ball. You may need to add more sugar than one cup to get the firm texture required. See video for visuals.
- Decide what size you want the dessert balls to be. I like to make mine the size of a store-bought truffle.
- Separate and shape your peanut butter dough into small balls and place them on a baking sheet. You can use a scale to measure each ball if you want to ensure they are all identical in size.
- Allow the balls to firm up in the freezer. Mine took about 2 hours. Check them 1 hour in and reshape them if needed by simply re rolling them in your hands to create a perfect ball again.
- Once they have firmed up, start warming your chocolate on the stove in a double boiler setup (see my product recommendations at end of post) You can also warm chocolate in the microwave. Start with 30 seconds, stir for 30 seconds and then reheat in 10 second increments until the chocolate is completely melted.
- Add half of a bag of vegan chocolate chips over medium low heat. Once that starts to melt, reduce heat to low and add the other half of the bag stirring until 100% melted. The chocolate should be warm not hot when we coat the balls (I wish there was another word than balls lol)
- Remove top pan with chocolate from heat and place in area where you will be working.
- Start coating your peanut butter balls in the chocolate, quickly move them to your cooling area, remove the skewer or toothpick, fill in the hole with chocolate and sprinkle with cacao nibs.
- Repeat this process until all of the balls are covered. You will have to warm the chocolate up about halfway through so simply place it back over the hot water and melt it to desired level again.
- Once complete, allow your little balls of magic (still laughing) to cool completely and then either devour them all (just kidding don’t do that) or store them in an airtight container in the fridge up to one week.
PLEASE NOTE: The chocolate cannot be hot when you coat the peanut butter. It needs to simply be warm. This is why we warm half of the bag first, then add the other half and naturally let it melt down. You may need to warm the chocolate multiple times but it only takes a couple of minutes.
Notes
✨ PRODUCTS THAT I USE ✨
- Double Boiler- Click here
- Melting Pot- Click here
- Reusable baking mats- Click here
- The best food processor- Click here
- Vegan chocolate chips- Click here (they sell these at Walmart!)
- Rubber spatulas- Click here
- Raw cacao nibs- Click here
Transparency- SheLivesNaturally is a participant in the Amazon Services LLC Associates Program, an affiliate advertising program designed to provide a means for sites to earn advertising fees by advertising and linking to amazon.com
Nutrition
- Serving Size: 1.5 ounces
- Calories: 110
- Sugar: 7 grams
- Fat: 12 g
- Carbohydrates: 8
- Protein: 8
Keywords: no bake peanut butter balls, 4 ingredient peanut butter balls, Vegan peanut butter dessert, vegan chocolate peanut butter balls, plant based dessert, vegan chocolate recipes, vegan chocolate peanut butter recipes, keto dessert, gluten free dessert,
IMAGE GALLERY


LET ME KNOW WHAT YOU THINK! DID YOU TRY IT? HOW DID IT TURN OUT? COMMENT BELOW👇🏼
Until Next Time!
Sincerely,
Chelsea
