


Welcome and thanks for stopping by to check out my DIY Flatbread Recipe! If you need to understand what a bread starter is and how it works then check out the mini lesson below. Otherwise, skip right on down to the recipe!
Quick Lesson on Bread Starter
Let me give you a super quick lesson on what bread starter is and how it works! Bread starter is a type of ferment. Many recipes generally call for raising agents such as commercial yeast and baking powder. Bread starter works similarly when incorporated into recipes at the right time without the need for those other raising agents because…..it is the raising agent. Raising is also referred to as leavening.
Bread starter, also known as sourdough starter, gets its name from the sour taste it acquires over time due to the production of lactic acid and acetic acid that happens during the fermentation process.
Sourdough starter is made up of wild yeast and good bacteria that feed, thrive and ferment on the combination of flour and water. When the fermentation process takes place the yeast and bacteria eat up the carbs(simple sugars) from the flour and expel carbon dioxide which is what creates the rise and lovely bubbles we see! When all the nutrients from the flour have been consumed the starter will deflate and usually you will see a layer of “hooch” or alcohol on the top. No worries though! This simply means it’s time to feed again.
Feeding time means discard time. When you feed your starter you have to remove a decent amount from the container and then feed the remaining starter in your jar. As you feed and care for your starter culture the colonies of yeast and bacteria get stronger and more resilient which is so cool!
Generally the ratio to feed established starters is 1:1:1 (1 part starter, 1 part flour, 1 part water). Personally, I had one hell of a time establishing mine. I had to try all different feeding ratios until FINALLY my starter started doing what it was supposed to . Once the starter built some strength I was able to reduce the ratio from 1:2:1 (1 part starter, 2 parts flour, 1 part water) to 1:1:1. I know other bakers that use different combinations and sometimes I too have to change my feeding ratios as well.
The amazing thing is, every starter is different! No starter has the exact same yeast/bacteria colony and no starter will react identical to another. The more you care for your starter the more you get used to its needs. It is literally like a low maintenance pet. I LOVE IT!
I hope that was helpful. It took me a long time to understand the whole process but I promise you will get there! Now onto the recipe. Below you will find the recipe itself first and then the step by step instruction with images.
Herbs!
BENEFITS
Herbs are an important part of not only cooking but life in general. The plant parts that we use contain many beneficial compounds that benefit our overall health. I buy herbs in bulk and recently found some that I believe are super high quality and worth the purchase. Check out my recommendations below. I also have a Product Links Library. These are affiliate links but I own and use everything I recommend.
Herbs can be used in SO many applications. Such as oil infusions for skincare and eating, tonics and syrups, accents to a dish, home apothecary recipes and so much more! That is why it is important to use quality products you trust.
DIY Flatbread Recipe Using Discarded Starter

A simple, plant based and healthy flatbread recipe that turns that discarded sourdough starter into a delicious herbal flatbread that will leave everyone coming back for more. This recipe is a staple that can be worked into every homes weekly menu!
- Prep Time: 10 minutes
- Cook Time: 30 minutes average
- Total Time: 1.5 hours
- Category: Bread
- Method: Baked
- Cuisine: Vegan
- Diet: Vegan
Ingredients
- 2 1/2 cups all purpose flour (plus any additional needed)
- 1 1/4 cups oat milk
- 1 cup bread starter discard
- 1/2 cup olive oil (for brushing the dough)
- 1 teaspoon salt
- 1 teaspoon baking powder
- 1 teaspoon rosemary
- 1 teaspoon oregano
- 1 teaspoon thyme
- 1 teaspoon basil
Instructions
DIRECTIONS
- Mix your flour, salt, baking powder and herbs in a medium or large sized bowl.
- Add in your milk and sourdough starter and stir to combine.
- Flour your hands and knead the dough in the bowl by grabbing and edge and folding it over the top of the dough. Turn the bowl with each fold. Do this until all the flour is worked evenly into the dough and the dough has a uniform consistency. Please Note: The dough will be sticky and it can be messy until all of the flour is worked in. By the end you should be able to flour your hands and knead the dough without it sticking to you. Additional flour outside of the 2 1/2 cups may be needed. See images after recipe.
- Spray the top of the dough with a light coating of oil or non stick spray and cover with a towel and let rest in a slightly warm place for 30-45 minutes.
- After 30-45 minutes has passed, setup your floured work area where you will cut, roll and oil your dough.
- Separate your dough into 12 equal pieces (or somewhat equal).
- Heat your pan or skillet over medium heat.
- Roll out your pieces of dough on a floured surface with a thickness between 1/8″ -1/4″ (the surface needs to be floured well as we don’t want these sticking.)
- Brush oil all over the faceup portion of the dough and sprinkle with sea salt.
- Place the oiled side of the dough down on the skillet/pan.
- Immediately oil the face up side of the dough in the pan and sprinkle with sea salt (so both sides of the flatbread are now oiled and salted)
- Once you see bubbles forming and the bottom of the flatbread is browning flip it over and continue to cook the other side. Please Note: You may need to press the bread down in the skillet if it is bubbling to much to maintain the “flatness” that is desired.
- Stack your flat bread on a plate and serve with Garlic, sea salt and rosemary oil for dipping! (Recommended)
TIPS
- The more you make these the more familiar you will become with how long they take to cook. Every stove and pan combo is different which is why eyeballing these is the best method for knowing when they are fully cooked.
- To create Garlic, rosemary and sea salt infused olive oil- Finely dice up garlic and place in an oil bottle. Add your choice of salt and a sprig of rosemary and fill with oil. The longer it sits the more infused it will taste!
Nutrition
- Serving Size: 1 flatbread
- Calories: 200
- Sugar: 2.1 g
- Sodium: 206 mg
- Fat: 9 g
- Saturated Fat: 1.3 g
- Carbohydrates: 26.7 g
- Fiber: 1.1 g
- Protein: 4 g
Keywords: flatbread, sourdough flatbread, bread starter recipes, recipes for discarded starter, easy flatbread recipe, simple flatbread recipe, healthy flatbread recipe
STORAGE AND FRESHNESS
I recommend eating these right away as that is when the flavor and texture is at its prime. The following day, after storing in an airtight container, you will notice the flatbreads become chewy almost like “next day pizza”. You can simply heat them up in the oven or toaster to get back some of the crispness.
I would discard bread after 2-3 days.
Step by Step Instruction With Images
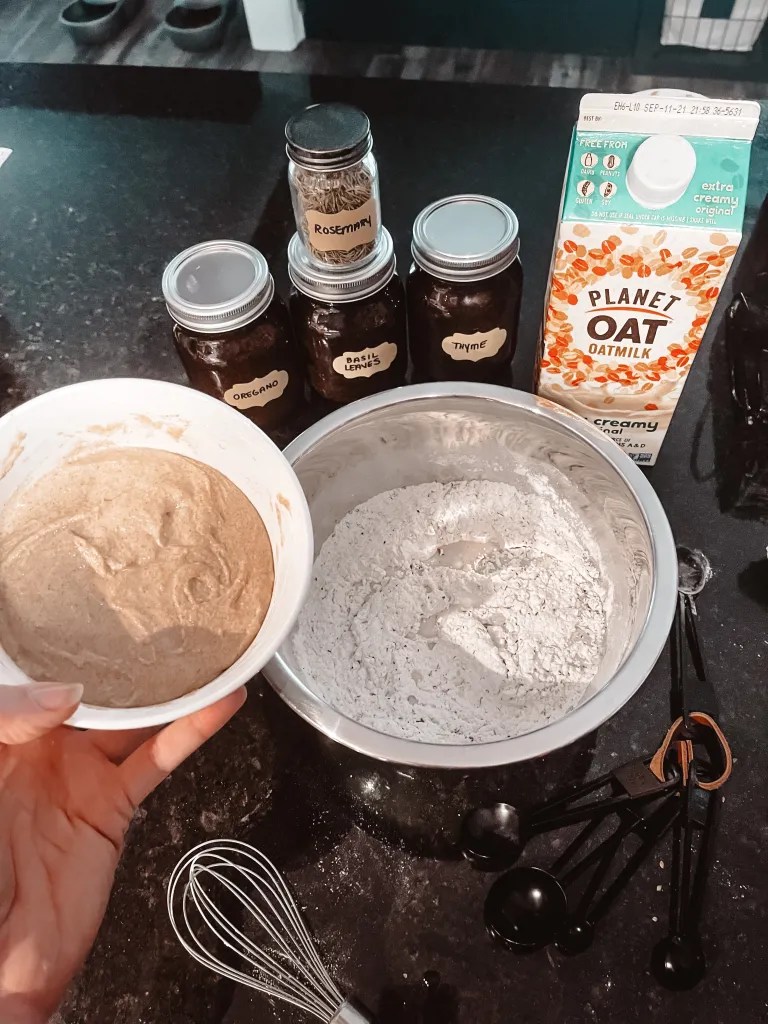
- Set your 1 cup (mine was heaping) of sourdough starter aside


2.Mix your flour, salt, baking powder and herbs together in a separate bowl


3. Add in your starter discard and milk to the bowl with your flour, salt, baking powder and herbs. Combine and knead. Spray the top lightly with oil and cover with a towel allowing to sit in a slightly warm spot for 30-45 minutes.


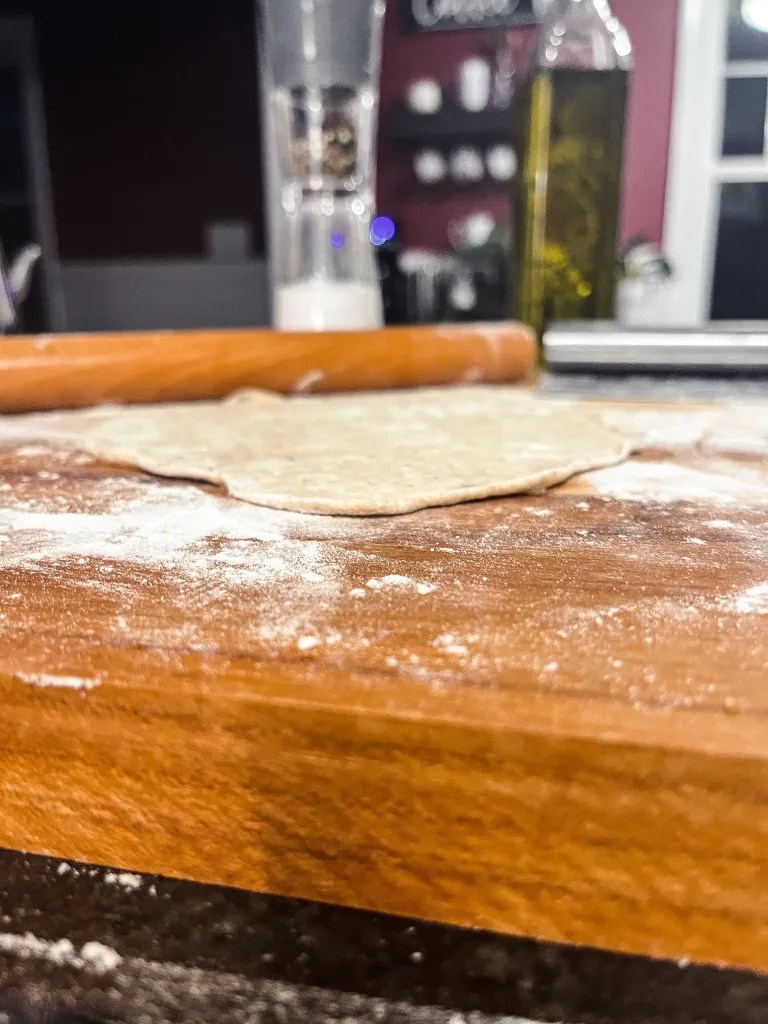
4. Set up your work area and dust with flour. Separate the dough into 12 sections and roll out into discs with a thickness of 1/8″-1/4″. I like my shapes to be different as I feel it adds beauty and depth to the final bread plate.


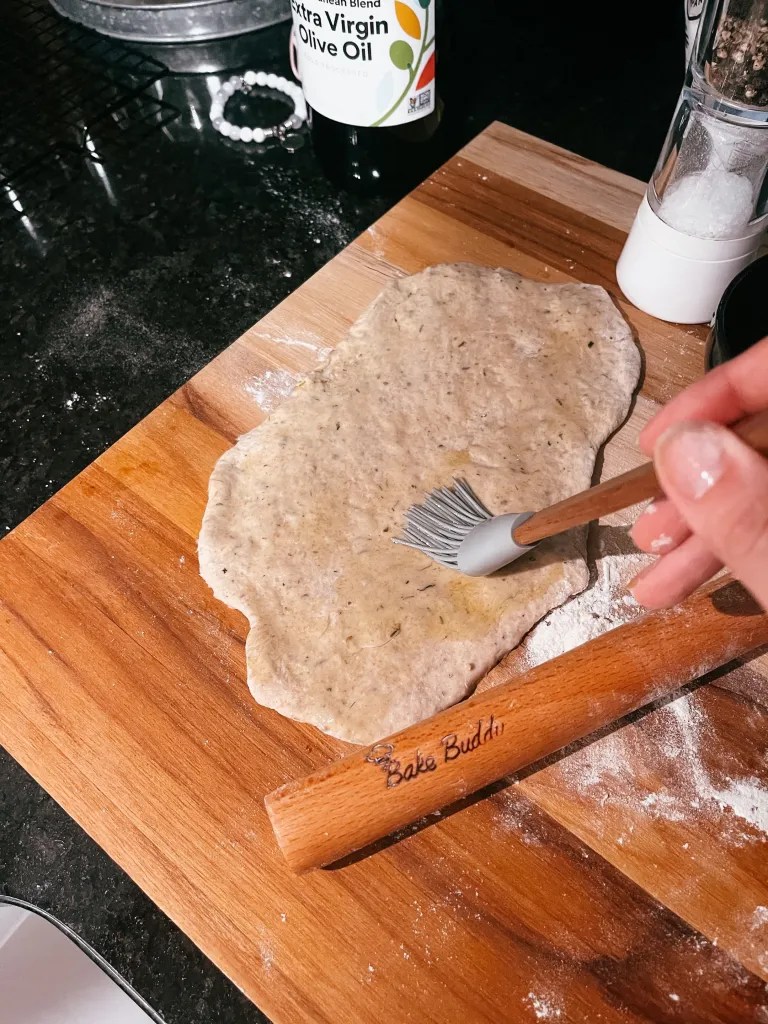
5. Brush the tops of the discs with oil and sprinkle with sea salt while you heat your pan or skillet to medium heat.


6. Place the discs oil side down into your skillet or pan. Oil the side that is face up in the pan and sprinkle with sea salt (so both sides are now oiled and salted). Once the discs start to form bubbles and the bottoms are browned, flip them over and continue to cook the other side.


7. You may need to flatten the dough down while it bakes if it forms large bubbles as we need to maintain the “flatness” of the dough. Once you have baked all of the discs, stack them up and serve with oil for dipping! I recommend Rosemary, garlic and sea salt infused olive oil with the herbaceous flatbreads!


You can use this dough as a base for crackers, flatbread pizzas and other unique delicious recipes. Share your thoughts in the comments below!
NUTRITION INFO FOR DIY FLATBREAD RECIPE

SheLivesNaturally is a participant in the Amazon Services LLC Associates Program, an affiliate advertising program designed to provide a means for sites to earn advertising fees by advertising and linking to amazon.com
Until next time!
Sincerely,
Chelsea
